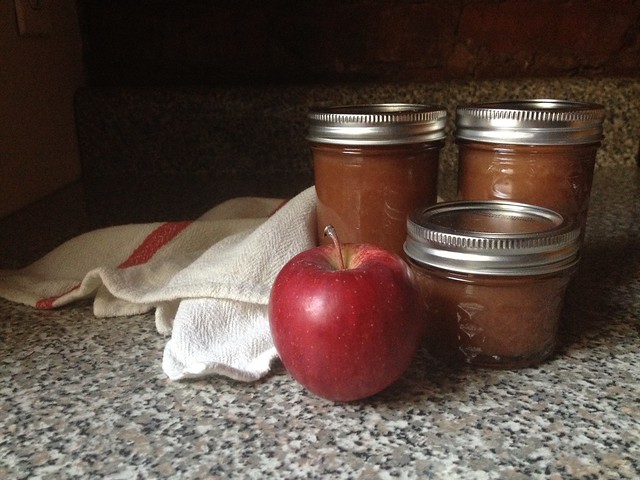
Did you grow up with apple butter? I've recently learned that some people did and some people didn't. When I say that I'm making apple butter, the people who didn't wonder exactly how apples and butter go together. The people who did get a far off look in their eye, dreaming of the spiced, apple-y flavor.
As for me, I did and I didn't. My grandmother made it, and I have vague memories of eating it on toast at her home in West Virginia. (I've heard tell of a huge copper kettle she used to make it in, that an aunt or uncle is now in possession of. But I feel like it should be mine :) Mostly, I remember eating it on biscuits as a surly teenager, in disbelief that I was being forced to eat Christmas dinner in a Cracker Barrel by the airport en route to visit family for the holidays.
In case you didn't grow up eating apple butter, let me tell you this: it tastes like autumn in a jar. Apples cooked for hours, until they carmelize and turn a deep brown, flavored with cinnamon and cloves. It makes your home smell like what a Yankee candle only dreams of smelling like. And the process of making it is the perfect fall activity. If you decide to "put it up" in jars, the boiling water canner makes your windows fog up, which is just about the most cozy way for a window to be.
The apple butter of our grandmother's generation was sweet. So is the kind they sell at Cracker Barrel. When I started making it myself, when I first moved to New York (a normal time to start a granny's hobby, right?), I tinkered with the sugar until I got it down to just a few tablespoons. I prefer to make it with less sugar so the flavor of the apples stands out. Also, so I can eat it straight from the jar and not feel too guilty.
So, if you love apples, cinnamon, and a few hours spent in a warm kitchen, I suggest you make apple butter. Maybe even this weekend. Canned in tiny jars, it makes a tasty, adorable Christmas gift.
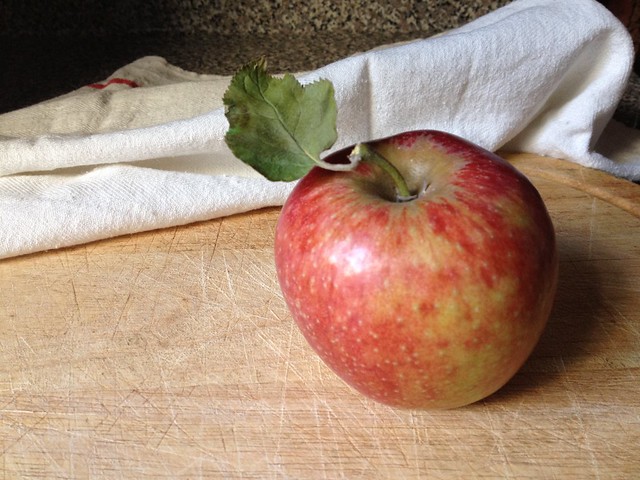
Apple Butter
adapted from this recipe
You can make this without canning it, but you'll want to reduce the amounts here (this is more of a method than a recipe anyway, so it isn't hard to do). If you do want to can it, I've included instructions here. If you've never canned anything before, check out these resources: canning equipment, canning methods, and the USDA's guide to food preserving.
Equipment: 2 large pots A food processor or blender Canning jars with fresh, never-used lids
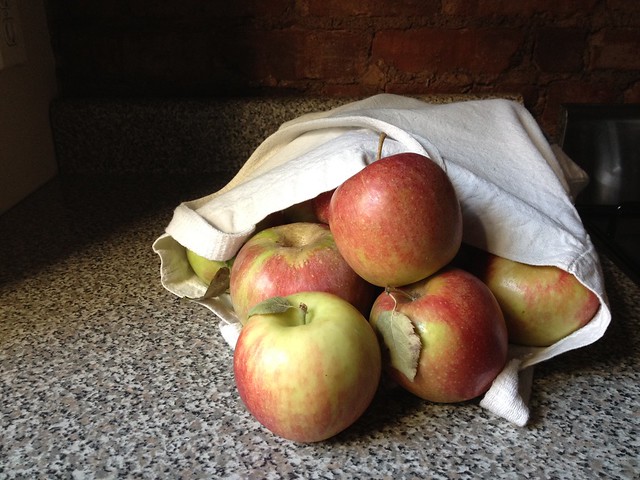
A canning kit, if you have one. If not, tongs will do. Ingredients: - 4-5 lbs of apples (I like to use a mix of local apples like Macouns, Jonagold, Empire, and Honeycrisp)
- 1/2 gallon to a gallon of unsweetened apple cider (the darker, sort of cloudy kind is great here)
- sugar
- 1 1/1 tablespoons cinnamon - 1/2 teaspoon cloves (or a sprinkling of whole cloves, if you don't mind fishing them out later)
- the juice of one lemon
Making the apple butter
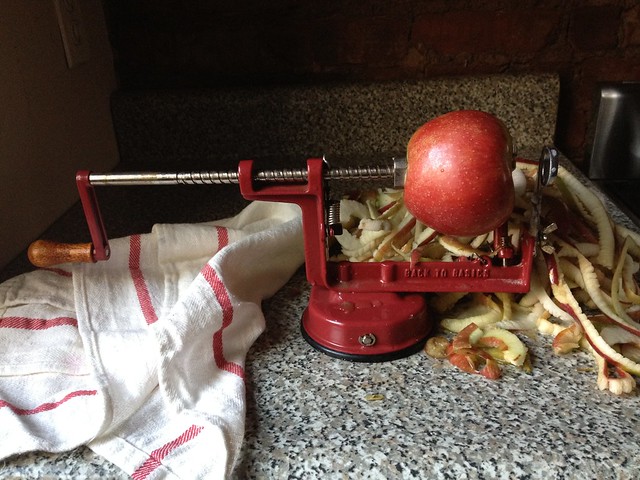
Peel, core and chop your apples. (A tool like this makes this part much faster.) As you work, put your chopped apples into a big pot with a few cups of the cider so they don't begin to brown. Once all your apples are in the pot, cover with apple cider. Cook over medium-high heat until the apples are soft, about 25 minutes.
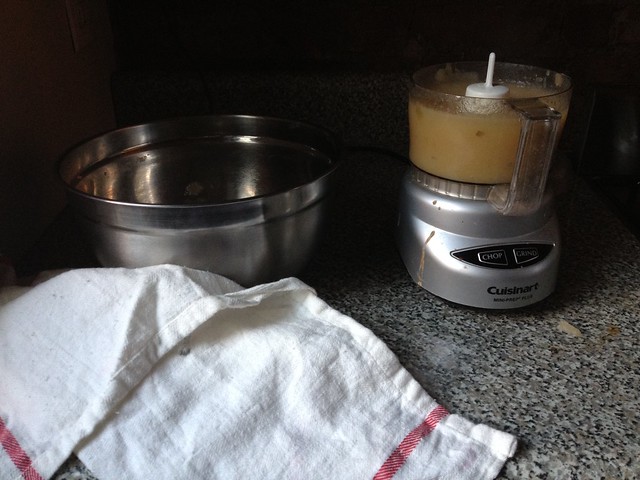
When the apples after soft, puree them in batches and return to the pot. Over medium heat, bring to a simmer. Add the cinnamon, cloves and lemon juice. When adding the sugar, I start with 2 tablespoons and taste it. If you like the flavor, stop there. If it's too tart, continue adding sugar a tablespoon or two at a time until you like it. Keep in mind that this will cook down and get sweeter, so you may want to add more sugar later. Simmer for 1-3 hours (I usually end up going for close to 3 hours). It will thicken and darken in color as it cooks. When it's close to done the simmering starts to look and sound more like lava, and messily plop out of the pan from time to time.
Sterilize & prep the jars
While the apple butter is cooking, prepare your jars. Wash your jars and lids with soapy water, rinse well. Fill another large pot with water and bring to a boil. Boil the jars for 10 minutes, working in batches if necessary. Try to do this as your apple butter is finishing, it's best to work with piping hot jars.
Put the clean lids in a pan or bowl of hot water, leave them them until you need them (changing the water to keep them warm if necessary).
The canning process
When the apple butter is ready, remove the jars from the boiling water. I do this one at a time, then fill one at a time so they stay hot. Fill each jar with apple butter, using a wide mouthed funnel if you have it. Leave 1/4" of headspace (the distance between the top of the apple butter and the rim of the jar). Carefully clean the rims of the jars with a clean, moist towel or paper towel. You want to be a bit obsessive here, as any leftover bit of apple butter here can prevent the jars from sealing.
Remove a lid from the water, dry the inside of it and quickly apply it to the top of the jar. Screw on the outer ring. Repeat this process until all your jars are filled.
Place jars into the boiling water (on a rack, if you have one), making sure the are covered with at least an inch of water on the top. Once the water returns to a boil, boil the jars for 20 minutes and then remove. You might see other recipes with shorter canning times, but these need the full 20 minutes because of the low sugar content.
Once the jars are cooled, test the seal of each jar by removing the outer ring and picking the jar up by the lid. If it stays on (and the "button" in the middle of the lid stays down), you're good to go!
These will be good for up to a year unopened and for a month or two once they've been opened. Happy canning!

This looks soooo yummy! What a great way to cozy up for the weekend, too:) I'm pinning this for next year when I will hopefully make it out for apple picking:)
ReplyDeleteLet me know if you need more apples. I have a ton, and they are up for grabs.
ReplyDelete